# Downloading the pipeline
wget https://github.com/kwondry/rnaseq_gene_expression/archive/refs/heads/main.zip

# Unzip and rename the folder
unzip main.zip -d my_rnaseq_run && rm main.zip

# Navigate into your rnaseq pipeline folder
cd my_rnaseq_run/rnaseq_gene_expression-mainRNA-Seq Pipeline Tutorial
Detailed steps on processing RNA Sequencing data
Here we walk through the Kwon Lab RNA-Seq pipeline. The pipeline integrates steps from an nf-core rnaseq pipeline into an executable snakemake pipeline. The end product is a gene expression matrix and a QC report for further downstream analysis.
Estimated time for completion ~1 hour
Prequisites
Ensure you have O2 access with
mambaandsnakemakeinstalled. For O2 setup instructions, visit here.We begin with raw sequencing data ( must be .gz files) on O2 in
/n/groups/kwon/data1/sequencing_run_archive_DO_NOT_EDIT/<your sequencing run>. Please note where the sequences for your samples are located.
Downloading the pipeline
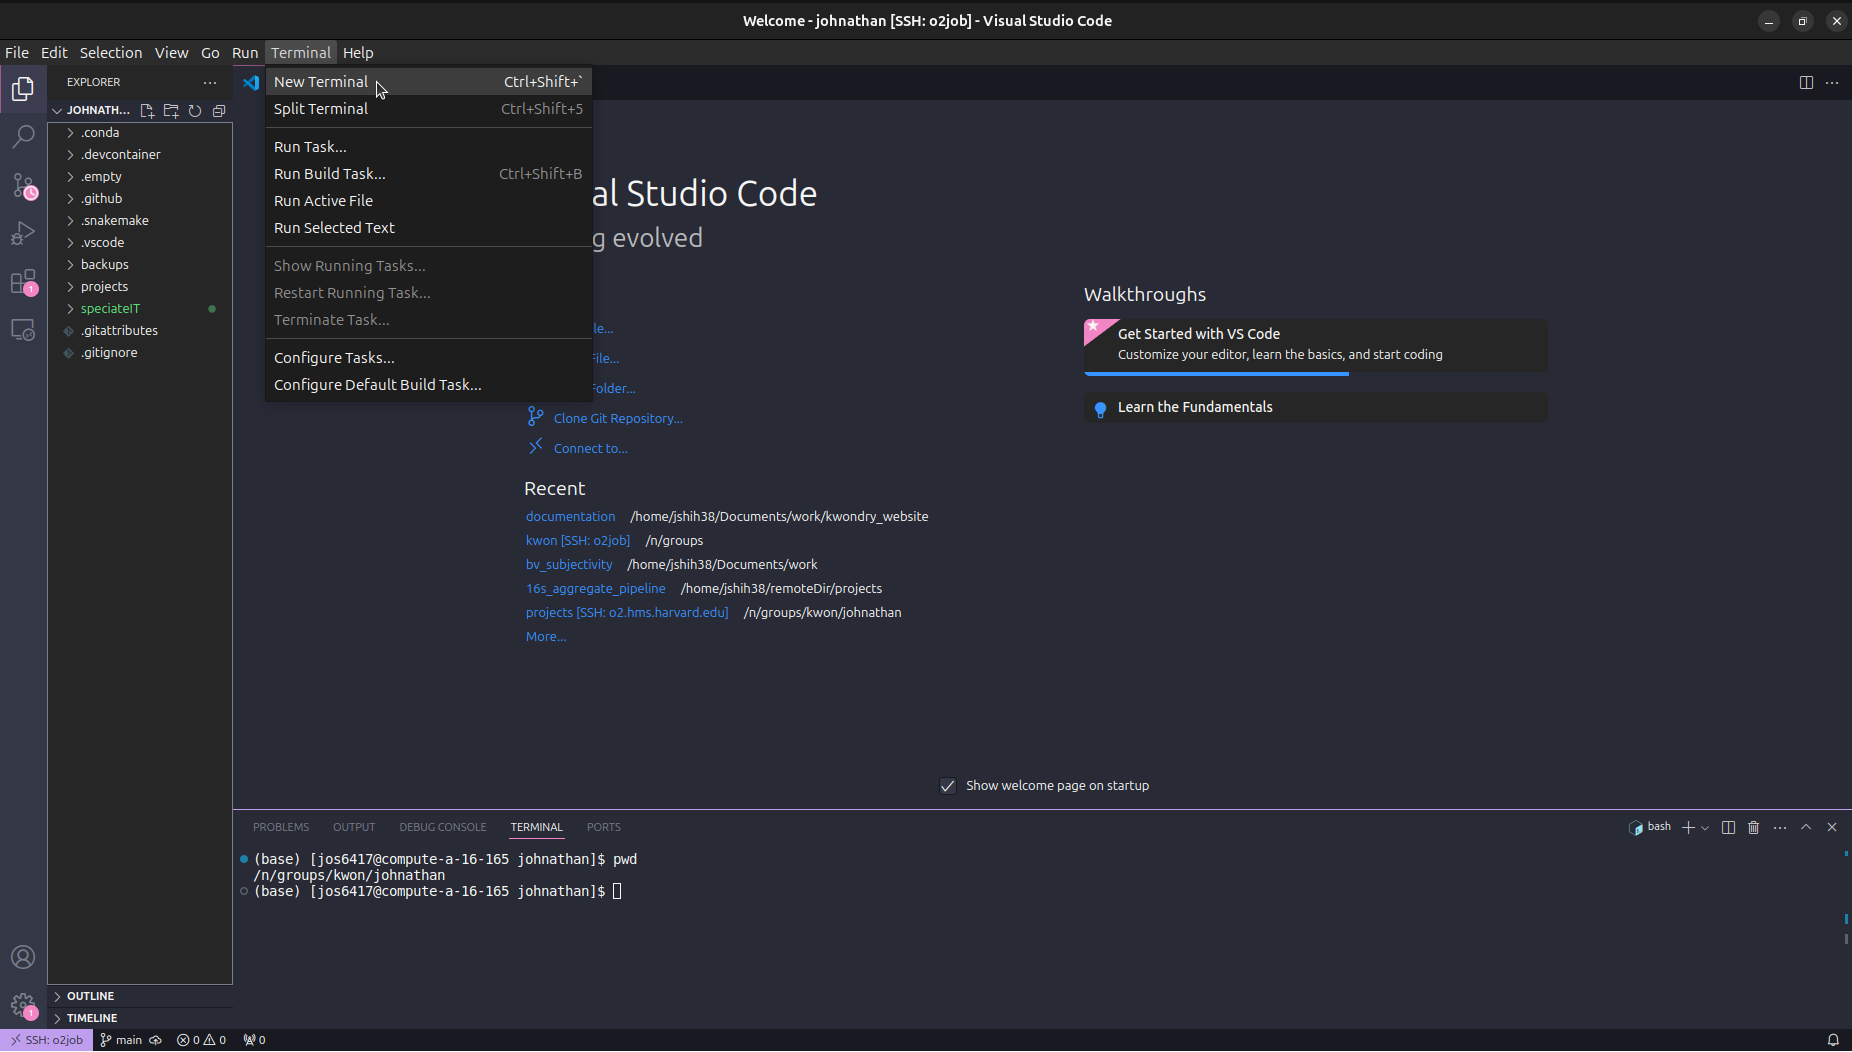
Launch VSCode on an O2 compute node. More instructions can be found here.
Open a terminal within VSCode. Click terminal in the top bar and new terminal. You should be on a compute node and within your groups folder. You can check where you currently are in the file system with pwd.
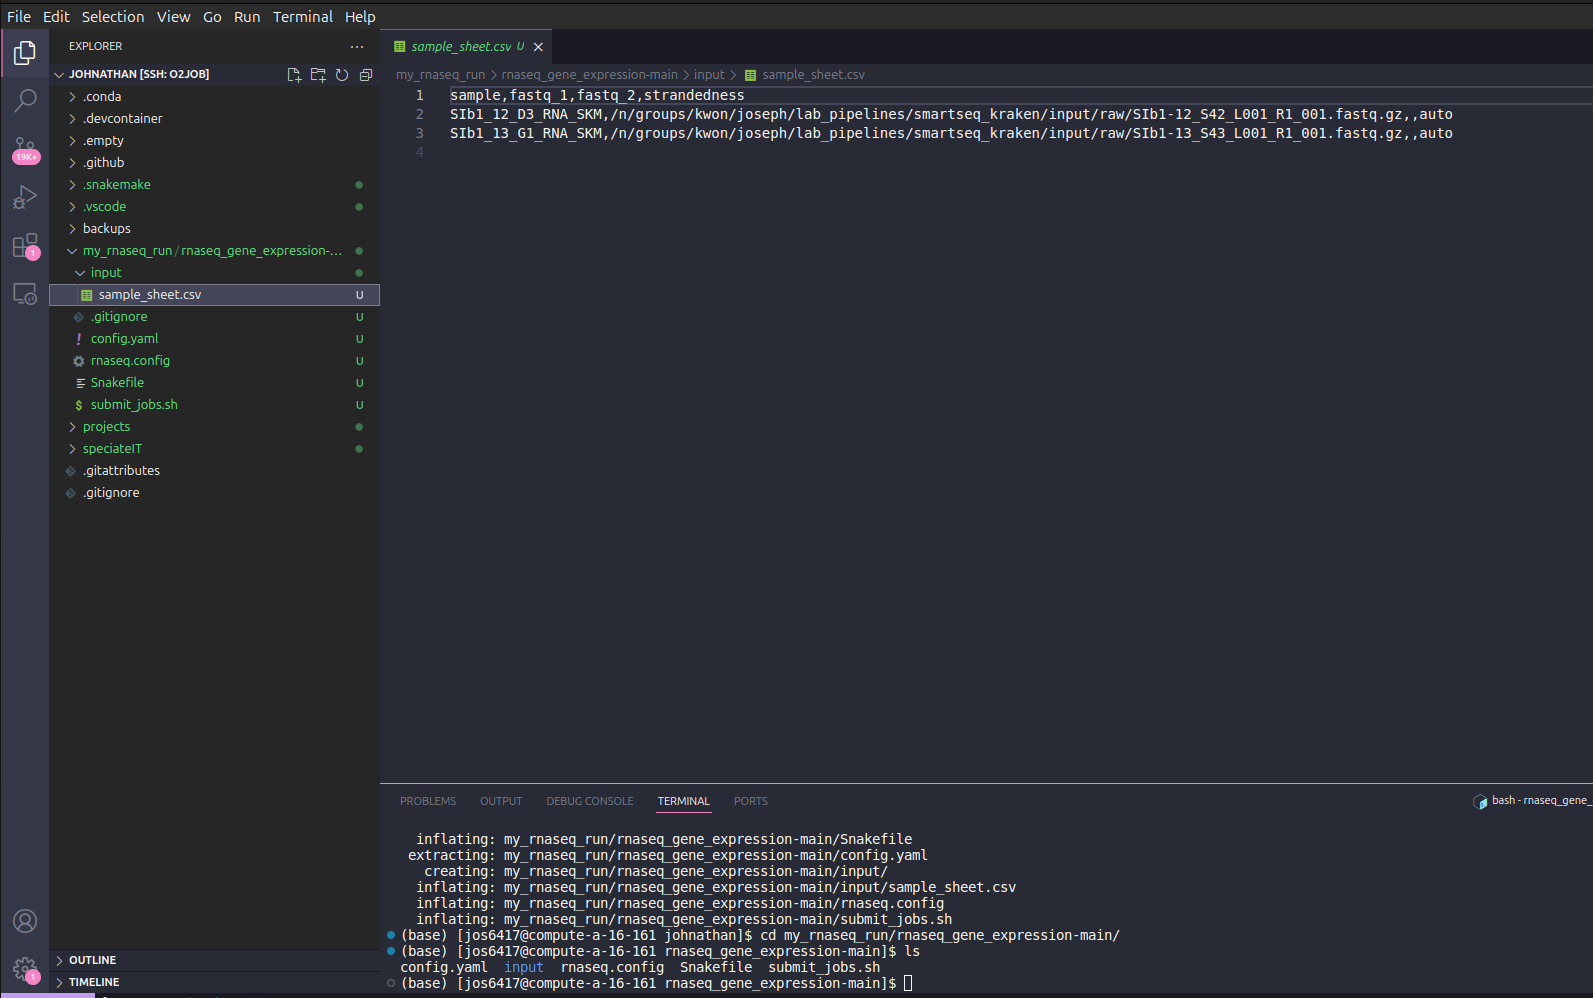
Download the pipeline by running the following commands. This is where your pipeline will be located and you can go into the folder with cd. Running ls will show all pipeline files.
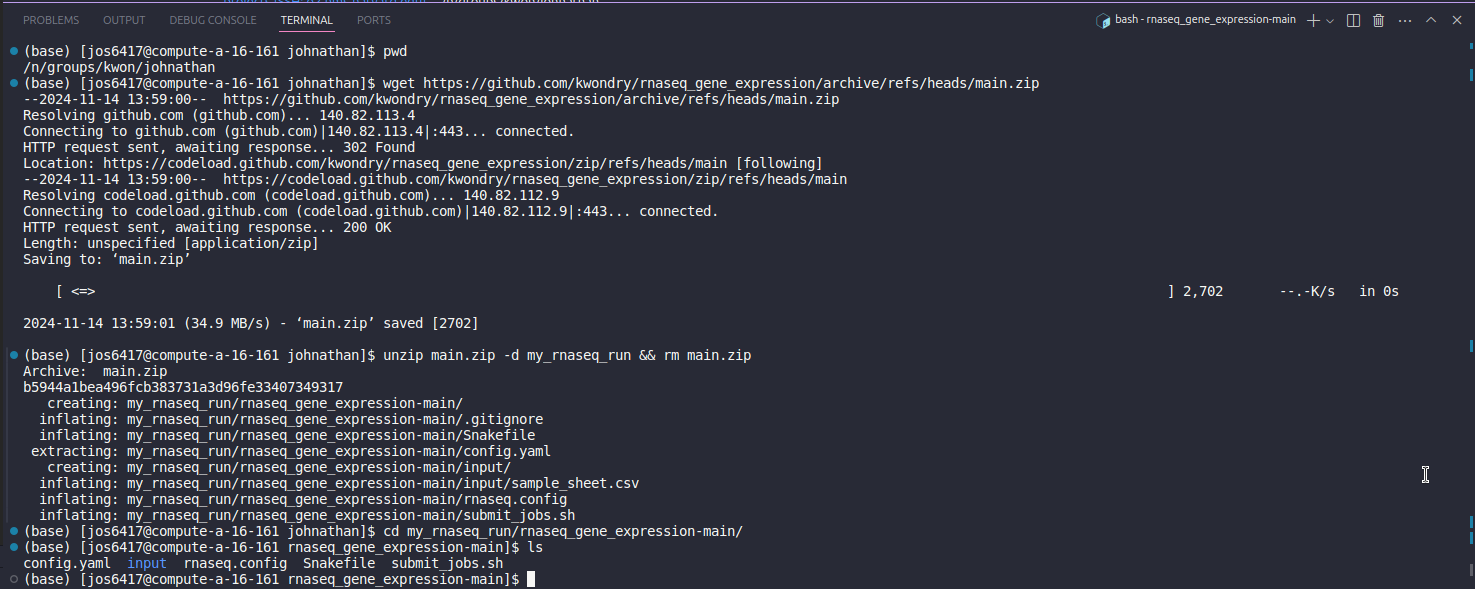
You will now have a rnaseq_gene_expression-main folder that contains all the required files.
Creating a sample sheet
A sample sheet will define which samples you want to include in the run and provide file paths for each sample.
Download an example sample sheet here.
Edit this sample sheet with explicit file paths for each sample that want included in the run. You can edit the raw csv in Excel or any editor you’d like and add your samples with explicit, absolute filepaths starting from /n/.
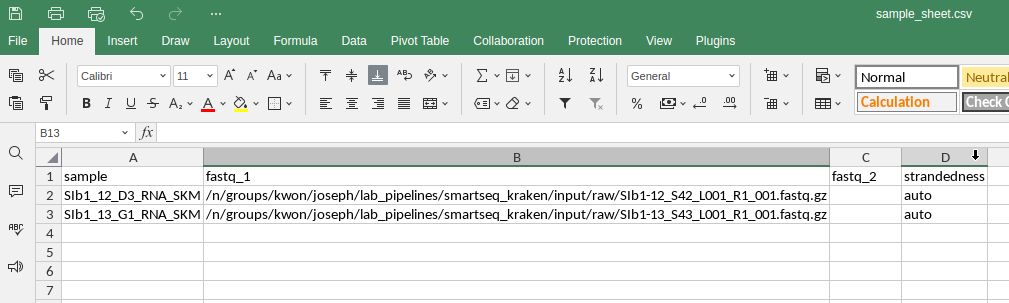
input sample_sheet.csv columns
| sample | fastq_1 | fastq_2 | strandedness |
|---|---|---|---|
| Sample IDs | File path for forward reads | File path for reverse reads. If your sequences are single end, leave this column empty | Set as auto for each sample. However, for samples with high contaminants coming from smartseq2, it should be set as both. |
The filepaths should be similar in structure to:
/n/groups/kwon/data1/sequencing_run_archive_DO_NOT_EDIT/<your sequencing run>/<filename_for_sample>.
All files must be gzipped (have .gz extension.)
After updating the example sample sheet, save it as a comma-delimited file or .csv.
Uploading your samplesheet
Next, we need to upload the updated sample sheet into the pipeline folder. This can be done by dragging that the updated folder from its current location into the VSCode sidebar in the input folder. VSCode may prompt you asking to if you want to replace the current file and confirm.
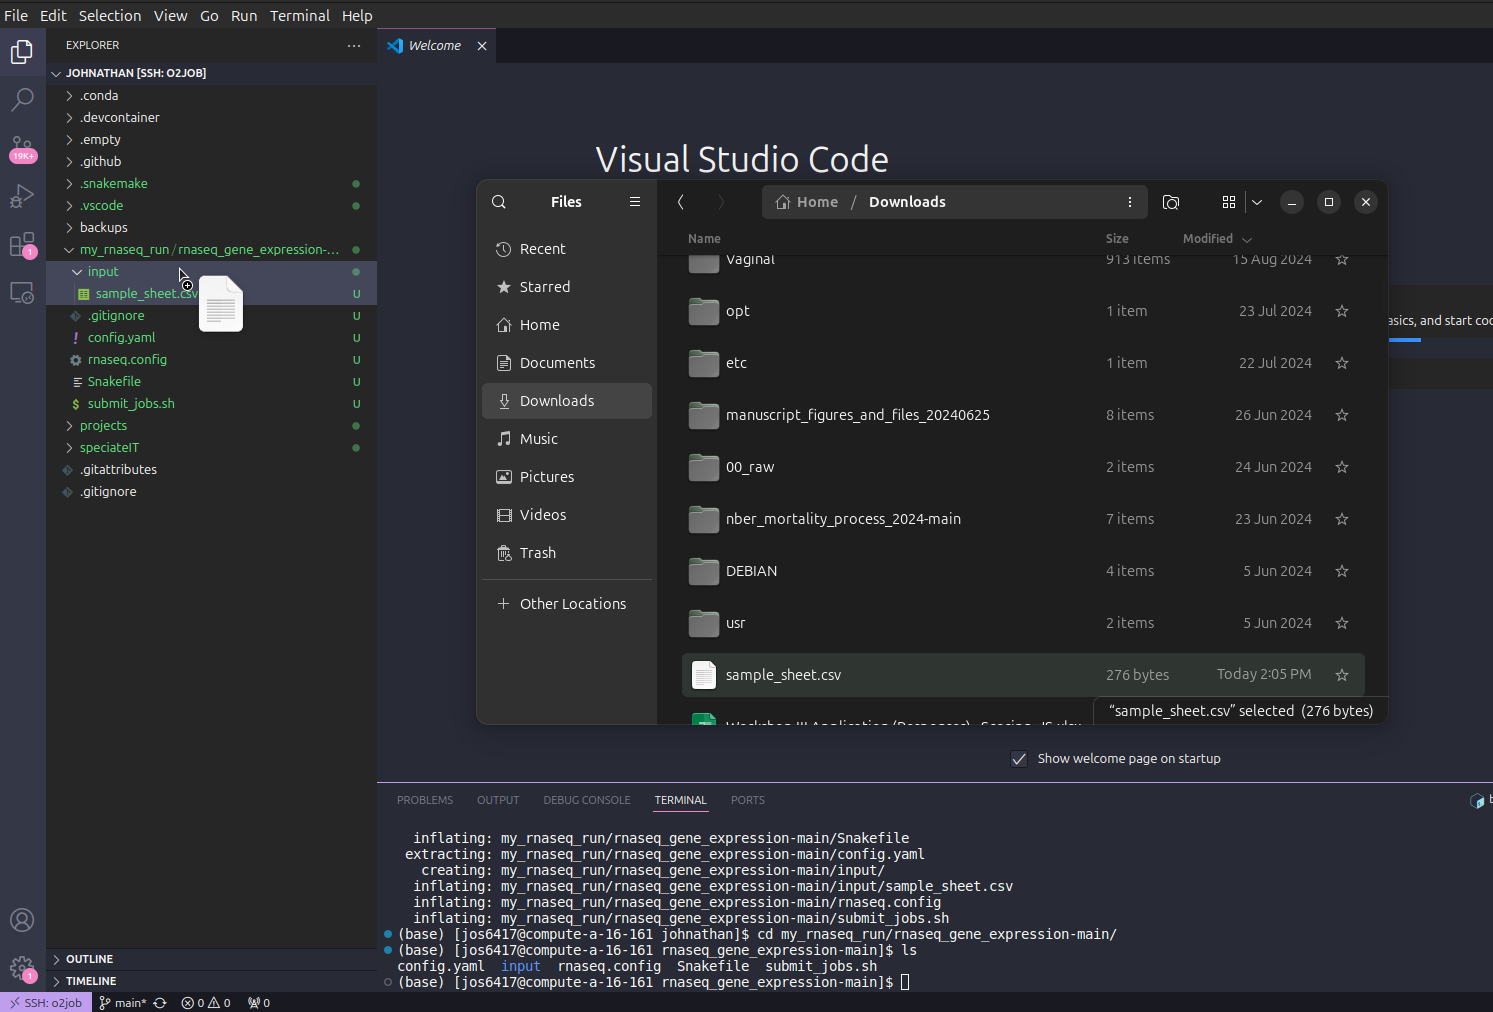
You can click the sample_sheet.csv to confirm it has your updated samples.
Running the pipeline
Testing the pipeline
To ensure everything is set up properly, we can run the pipeline on a test dataset.
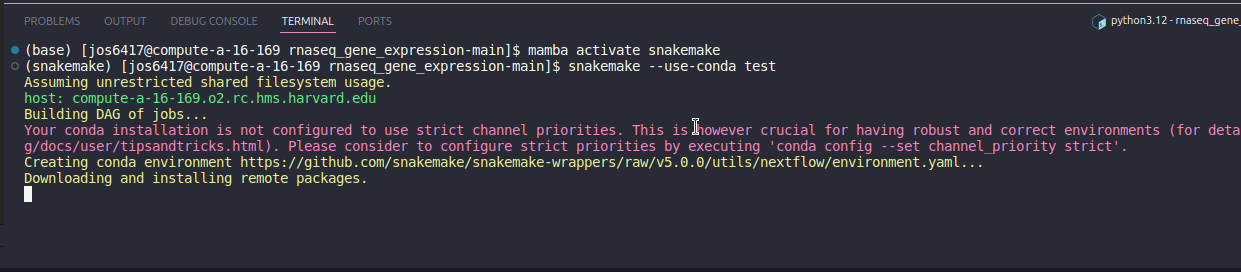
Navigate back to the VSCode terminal and check that you are in your pipeline folder. To run the test data, activate the snakemake environment and run snakemake with the following.
# Activates the mamba environment
mamba activate snakemake

# Runs the test data through the pipeline
snakemake --use-conda test
This will run the test data interactivately and you will be able to watch the pipeline run each step. This may up to 40 minutes, so now is a good time for a tea break.
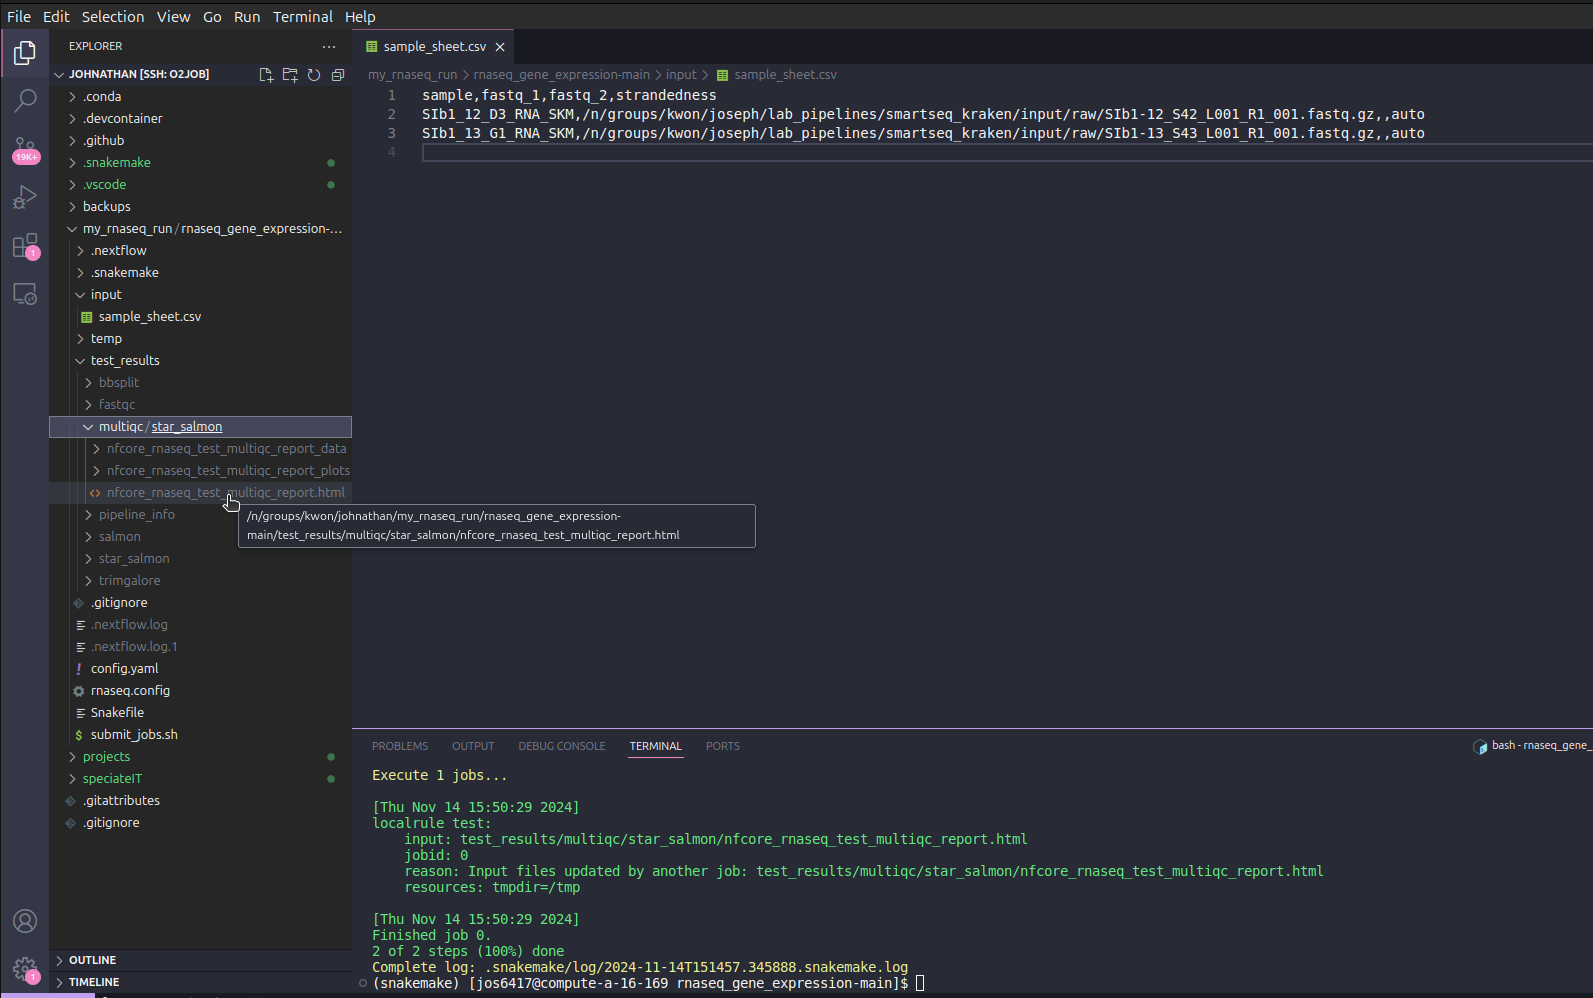
After the pipeline finishes, you should see a folder generated in your pipeline folder called test_results. If you see a multiqc/star_salmon/nfcore_rnaseq_test_multiqc_report.html file inside the two sub folders, the pipeline has successfully finished.
Running the pipeline
Almost there! All that’s left is running your samples through the pipeline.
Once you have the updated sample sheet with your samples in the input folder inside the pipeline directory, navigate back again to the VSCode terminal. Submit the pipeline with the following.
# Activates the mamba environment
mamba activate snakemake

# Submits a job with slurm
sbatch submit_jobs.sh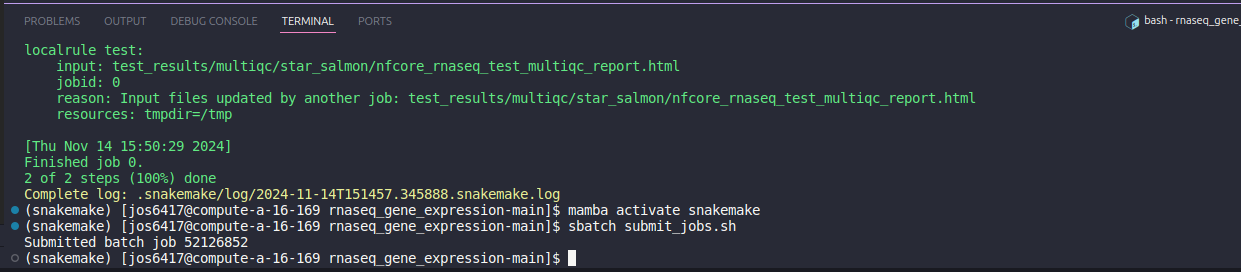
This will submit the snakemake pipeline as a job, so you do not need to keep everything open. Depending on the number of samples and reads, the pipeline may take a few hours to days to finish.